
Your Complete Bathroom Renovation Guide in Sydney – From Demolition to a Stunning Finish
A leaky shower, dated tiles, zero storage—sound familiar? If you’re about to renovate your bathroom in Sydney, this guide gives you the exact steps from first sketch to final silicone bead. It’s written in plain English, answers the real questions homeowners ask, and covers the big three areas that make or break results: plumbing, waterproofing, and tiling. Let’s turn “Where do I even start?” into a confident plan.
What You’ll Achieve With This Guide
A realistic renovation timeline from consult to handover
A clear order of work: demolition → rough‑in → waterproofing → tiling → fit‑off
Answers to key compliance questions for Sydney/NSW
Practical insights on waterproofing membranes, tile layout, falls to waste, and plumbing rough‑ins
A checklist to avoid common, expensive mistakes
Step 1: Define Scope, Budget & Style (Pre-Construction)
Scope: Decide if you’re keeping the same layout or moving plumbing (toilet, shower, vanity). Keeping the layout saves money and time.
Budget: Create “must-have” and “nice-to-have” lists. Prioritise waterproofing quality, ventilation, and correct plumbing over flashy extras.
Style & Function: Gather references and shortlist materials: tile sizes, finishes (matte vs gloss), vanity storage, shower screen type (frameless vs semi), smart toilet/bidet, heated towel rail, underfloor heating.
Selections: Choose early—tiles, PC items (tapware, toilet, vanity, shaving cabinet, bath), lighting, fan, niches. Early selections prevent delays later.
Pro tip: Large-format tiles look premium and minimize grout lines, but require a very flat substrate and an experienced tiler.
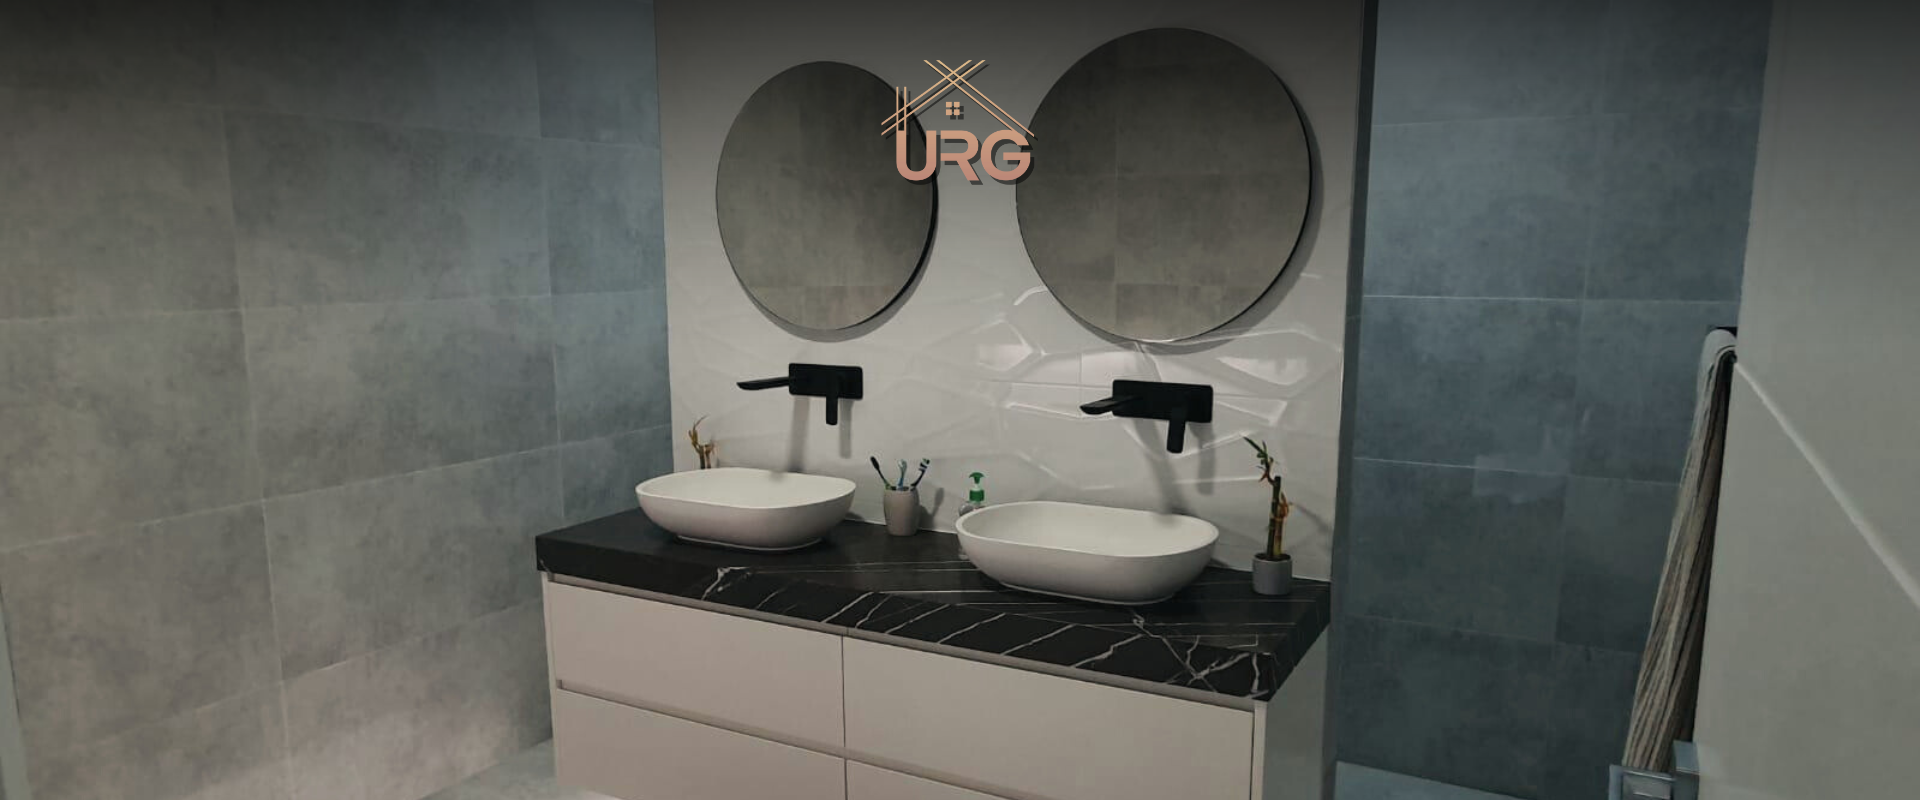
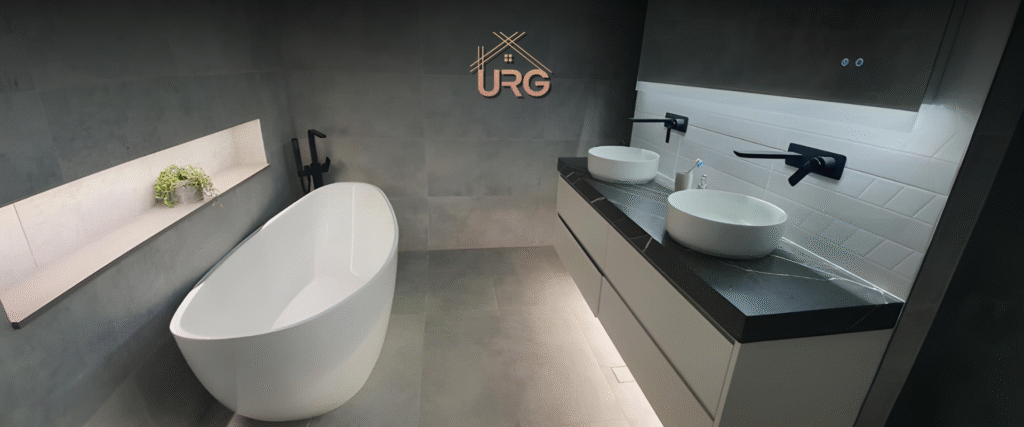
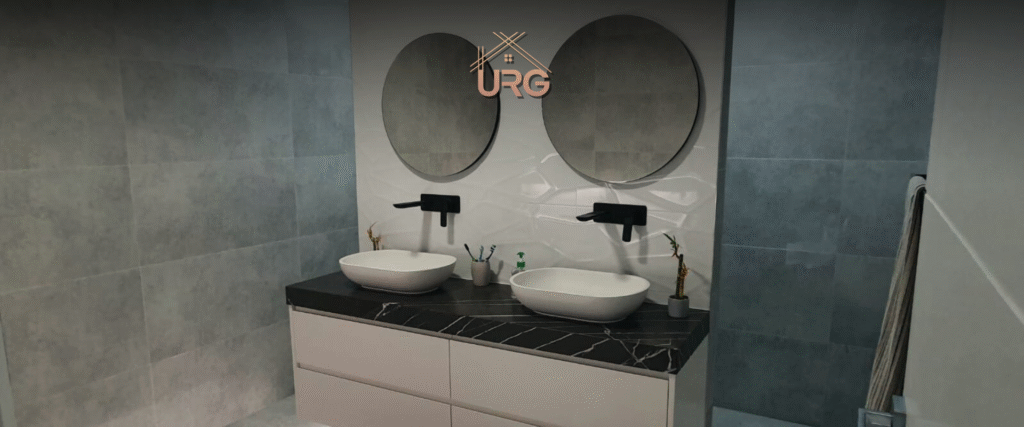
See how our Sydney bathroom renovation experts transform outdated spaces into stunning, waterproof retreats—explore our latest projects here.

Step 2: Know Your Sydney/NSW Compliance Basics
Licensed Trades: Use licensed plumbers, electricians, and certified waterproofers. You should receive relevant compliance certificates at handover.
Waterproofing Standard: Work must align with Australian Standards (commonly AS 3740 for internal wet areas). For more on compliance, see the NSW Fair Trading Bathroom Renovation Guide
Approvals: If you’re moving structural walls, windows, or making external changes, you may need council or strata approval. Internal like‑for‑like upgrades typically don’t—but always check building rules in your strata plan or local council.
Pro tip: Ask for a waterproofing certificate and keep it with your renovation records for warranty and resale.
Step 3: Measure, Design & Quote (1–2 Weeks)
Site Measure: Accurate room dimensions, door swing, window placement, waste locations, ceiling height.
Drawings: A simple floor plan and elevations for tile layout, niches, mirror heights, lighting/fan positions.
Detailed Quote: Ensure it lists demolition, waste removal, plumbing/electrical rough‑in, waterproofing, tiling, fit‑off, shower screen, painting, clean, and certifications. Confirm inclusions/exclusions (e.g., underfloor heating, structural repairs).
Step 4: Demolition & Strip‑Out (1–3 Days)
Remove tiles, fixtures, old waterproofing, and damaged sheeting.
Protect adjacent areas; manage dust and noise; arrange a skip bin.
Inspection: After strip‑out, check for hidden surprises—rotted studs, water damage, badly sloped floors. Fix now, not later.
Pro tip: Photograph walls and floors after demolition. These photos help confirm pipe routes and stud locations later.
Step 5: Plumbing Rough‑In (1–2 Days)
This is where your future bathroom’s reliability is built.
Water & Waste Positioning: Set exact locations and heights for shower mixer, vanity mixer, bath spout, toilet waste, and floor waste(s).
Falls to Waste: Subfloor planning to achieve correct falls (gradients) so water flows to wastes, not corners.
Venting & Compliance: Ensure correct pipe sizes, venting and water pressure.
Testing: Pressure‑test water lines before closing walls/floors.
Common pitfalls to avoid:
Setting mixers too high/low for your vanity/shower niche
Forgetting the bath spout projection or freestanding bath gap
Failing to plan for in‑wall toilet cistern access
Step 6: Electrical Rough‑In (0.5–1 Day)
Lighting Plan: Task lighting at mirror, ambient ceiling lights, niche lighting if desired.
Power & Safety: GPOs for shavers/hairdryers inside cabinets (if allowed), heated towel rail, underfloor heating controller, exhaust fan wiring.
Switching: Consider two‑way switches, dimmers, or motion sensors.
Compliance: All work by a licensed electrician with certificate provided later.
Step 7: Substrate Prep—Floor Rebuild, Sheeting & Screed (1–2 Days)
Floor Substrate: Replace or repair damaged subfloor. Ensure rigidity and a straight, level base before screeding.
Screed: Create the correct falls to waste, especially in showers and wet zones.
Wall Sheeting: Install moisture‑resistant wall linings. Corners and junctions must be strong and clean for waterproofing and tiling.
Pro tip: Discuss a linear drain if you prefer a sleek look and easier single‑plane falls with large‑format tiles.
Pro Tip
Order tiles and fixtures before demolition—Sydney supply delays can stall your renovation and add costs.
Step 8: Waterproofing (1–2 Days + Curing Time)
Waterproofing is the heart of a long‑lasting bathroom.
Membrane Type: Commonly liquid‑applied membranes; sheet membranes are also used. Follow manufacturer specs.
Coverage: Typically shower floors and walls to required heights, entire bathroom floor, and upturns at all wall/floor junctions and penetrations.
Layers & Drying: Apply required coats with correct thickness and curing times.
Flood Test: Where appropriate, a 24‑hour flood test checks for leaks before tiling.
Certification: Obtain a waterproofing certificate at completion.
What goes wrong most often? Thin membranes, skipping corners/penetrations, rushing cure times, or tiling too soon.
Step 9: Tiling (3–6 Days, Depending on Size & Tile Choice)
Tiling sets the look—and it’s where craftsmanship shows.
Layout & Set‑Out: Plan starting lines and focal points. Keep cut tiles balanced and avoid slivers. Align grout lines with niches and mixers where possible.
Adhesive Selection: Match adhesive to tile size/material (porcelain, ceramic, natural stone) and substrate.
Grout & Movement Joints: Use suitable grout (consider epoxy in high‑moisture zones). Include perimeter movement joints and silicone at changes of plane.
Shower Niche: Waterproof first; then tile with mitred or trim finishes.
Finishing: Keep lippage (uneven tile edges) minimal, check falls inside the shower, and clean residue promptly.
Pro tip: Matte tiles hide water spots; gloss wall tiles reflect light and can make small Sydney bathrooms feel bigger.
Step 10: Fit‑Off—Plumbing, Electrical & Accessories (1–2 Days)
Plumbing Fit‑Off: Install mixers, spouts, showerhead, toilet, vanity basin and waste, bath, and any filtration/bidet. Check for leaks and correct flow.
Electrical Fit‑Off: Install lights, fan, switches/dimmers, GPOs, heated towel rail, underfloor heating thermostat.
Shower Screen: Measure after tiling; install frameless or semi‑frameless screens with quality hardware and proper sealing.
Joinery & Mirrors: Fit vanity, shaving cabinet, shelving. Ensure secure fixings into studs.
Step 11: Painting, Silicone, Clean & Handover (1–2 Days)
Painting: Use mould‑resistant, bathroom‑grade paint for ceilings/walls not tiled.
Silicone Seals: Apply neat, continuous beads at wall/floor junctions, bath edges, vanity tops, and shower screens.
Final Clean: Remove grout haze, polish fixtures, vacuum and mop.
Handover Pack: Collect plumbing/electrical certificates, waterproofing certificate, care instructions, and warranties.
Typical Sydney Bathroom Renovation Timeline
Design, selections & quoting: 1–3 weeks
On‑site works: Usually 3–5 weeks for a full renovation (complex jobs may take longer)
Lead times: Custom vanities, special tiles, and shower screens can add time—order early.
Living arrangements: If you only have one bathroom, plan for temporary facilities or schedule works when you can stay elsewhere for the messy middle.

Tiling, Waterproofing & Plumbing—Deep Dive FAQs
How important is waterproofing in Sydney bathrooms?
Critical. Sydney’s climate plus apartment living means leaks affect neighbours and strata. Insist on a certified waterproofer, correct membrane thickness, and cure times. Ask for a waterproofing certificate at handover.
What’s the correct slope (fall) to the floor waste?
Showers require a consistent fall so water drains without pooling. Your tiler and plumber will coordinate screed gradients and waste positions to meet standards and keep it comfortable underfoot.
Should I choose porcelain or ceramic tiles?
Porcelain is denser, lower‑porosity, and durable—great for floors and showers. Ceramic can be perfect for walls and often costs less. Slip‑resistant (R‑rated) tiles are popular for safety.
How do I avoid grout staining or mould?
Choose quality grout (consider epoxy for wet zones), seal where needed, ensure a good exhaust fan to control humidity, and maintain with pH‑neutral cleaners.
Do I need underfloor heating?
Optional but delightful in winter. Install before waterproofing/tiling with a dedicated thermostat. It slightly raises floor height—plan door clearances.
Common Mistakes to Avoid (and What To Do Instead)
Rushing selections: Lock in tiles and fixtures before rough‑ins to set exact heights and positions.
Skipping ventilation: Install a fan sized for your room volume and run it long enough after showers.
Poor set‑out: Demand a tile layout plan—avoid awkward cuts and ensure niches line up.
Thin membranes: Two coats to the specified thickness, correct upturns, and full cure time—no shortcuts.
No documentation: Keep all certificates and product warranties.
Budget-Savvy Tips (Without Cutting Corners)
Keep the layout: Moving wastes and in‑wall plumbing adds cost.
Mix & match: Splurge on tapware/shower; save on feature tiles by using them sparingly.
Standard sizes: A standard shower screen or vanity is faster to source and install.
One large niche vs multiple: Cleaner look, lower labour.
Materials & Fixtures Checklist
Tiles (floor & wall), trims/edge profiles
Waterproofing system (primer, membrane, bandages)
Floor wastes (consider linear), grate finish
PC items: toilet, vanity, basin, mixers, shower set, bath, accessories
Lighting, fan, heat lamp (if desired), GPOs
Silicone, grout (consider epoxy in shower), adhesive
Paint (bathroom‑grade), underfloor heating (optional)
Shower screen and hardware
Frequently Asked Questions (Sydney-Focused)
How long does a full bathroom renovation take in Sydney?
Plan on 3–5 weeks on site for a standard bathroom after design and selections. Complex layouts, custom joinery, or stone can extend timelines.
Do I need council or strata approval?
For like‑for‑like internal renovations, usually not. For apartments/strata, you’ll likely need strata approval for noise hours, waterproofing standards, and waste management. Structural changes or external alterations may require council approval—check first.
What certificates should I receive at the end?
Ask for plumbing and electrical compliance certificates and a waterproofing certificate. Keep them for warranties and future resale.
Can I renovate a small bathroom without it feeling cramped?
Yes—use large‑format or vertical‑stacked tiles, a wall‑hung vanity, frameless screen, mirrored cabinets, and smart niche placement. Good lighting and a light palette expand the feel.
What’s most important to budget for?
Quality waterproofing, correct plumbing rough‑in, and skilled tiling. These protect your home. You can upgrade taps later; you can’t redo the membrane easily.
Should I do any parts DIY?
Leave plumbing, waterproofing, and electrical to licensed pros. You can help with selections, painting touch‑ups, or demolition (if safe and cleared by your contractor).
Strong Next Steps (So Your Bathroom Renovations Project Runs Smoothly)
Measure & Sketch: Note door/window positions and existing plumbing.
Decide Layout: Keep or move fixtures; confirm with a licensed plumber.
Lock Selections: Tiles, vanity, tapware, shower, lighting, fan.
Get Written Quotes: Itemised and inclusive of certificates.
Set Dates: Book trades in order; confirm delivery of long‑lead items.
Protect Home: Dust control, skip, access plan.
Monitor Milestones: Demolition → rough‑in → waterproofing → tiling → fit‑off → handover.
Pro tip: Ask your builder to walk you through the room at three checkpoints: post‑demolition, post‑rough‑in, and post‑waterproofing. Catch issues early.
Need Expert Full Bathroom Renovations Help in Sydney?
We provide fully licensed bathroom renovation services across:
Complete bathroom makeovers and upgrades
Plumbing, waterproofing, and tiling
Small bathroom redesigns and storage solutions
Strata and insurance-certified bathroom works
Servicing all Sydney suburbs, including Castle Hill, Ryde, Surry Hills, Chatswood, and Bondi.
Contact us today for a free consultation, layout ideas, and a no-obligation quote.
Call Ultra renovations group now 1300 085 029
Want to see how we’ve transformed real Sydney homes with smart renovation planning? Explore our portfolio of completed projects for inspiration and proof of what’s possible.
- Note: All URG work includes warranties and insurance certificates.
- Ask us about flexible payment options or staged renovations.


